15 Best Scarf Sewing Ideas You Need To Try!
I’ve spent years experimenting with scarf patterns, and I’ll be honest—some projects flopped spectacularly while others became wardrobe staples I reach for constantly. What I’ve learned is that the right technique makes all the difference between a scarf that looks homemade in the worst way and one that gets you compliments everywhere you go. Today, I’m sharing the 15 patterns that actually worked, starting with the surprisingly simple methods that’ll transform how you think about scarf-making.
Key Takeaways
- Classic infinity scarves use French seams for professional finishes, while twisted versions add modern drama with jersey knit fabric.
- Animal-themed scarves like fox and cat patterns feature flannel, minky fabric, and embroidered details for personalized gifts.
- Shirred scarves create gorgeous gathers using elastic thread in the bobbin with lightweight chiffon or voile fabrics.
- Sustainable kitchen towel scarves combine flour sack towels with quilting fabric, perfect for beginners and eco-friendly crafting.
- Hooded and gaiter scarves provide functional winter coverage using thick fleece or wool blends with adjustable closures.
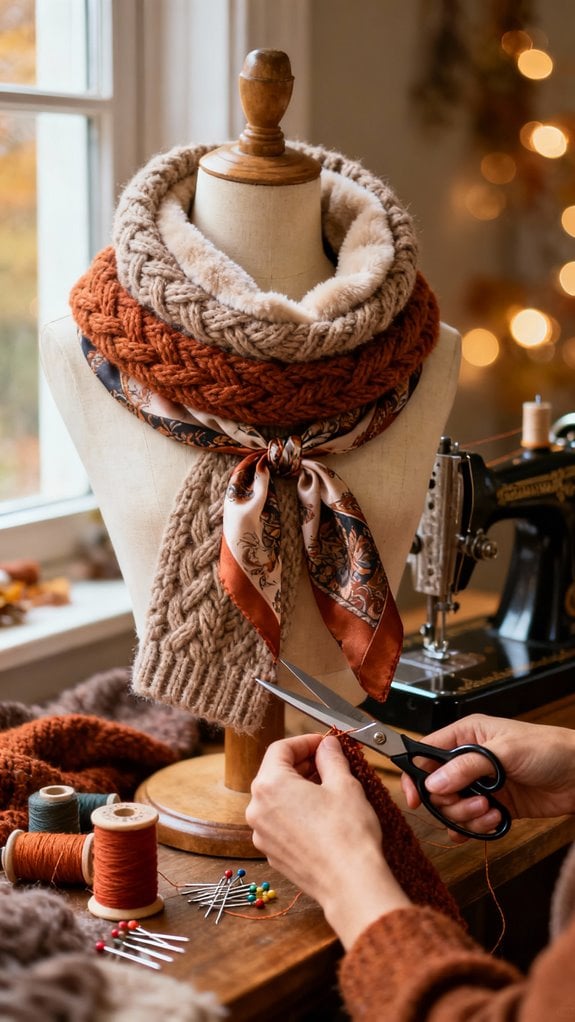
Classic Infinity Scarf With French Seam

When I first attempted a French seam on an infinity scarf, I was amazed at how professional the finished piece looked—no raw edges peeking through, just clean lines inside and out. I cut my chiffon fabric to 20″ x 60″, pre-washed it, and pressed thoroughly. Choosing fabrics that are lightweight is key for this technique.
Here’s my process: I placed wrong sides together and stitched a ¼” seam. After trimming slightly, I turned the tube inside out and sewed a ⅜” seam with right sides together, enclosing that first seam perfectly. For the raw edges, I folded them inward twice at ¼” each, pressed, and topstitched.
The result? A reversible scarf that wraps twice around my neck comfortably. This technique works brilliantly with lightweight fabrics that fray easily. The entire project took me under 30 minutes, making it an ideal last-minute gift option.
Twisted Infinity Scarf for a Modern Look
After mastering the French seam technique, I wanted something with more visual drama—that’s when I discovered the twisted infinity scarf. I sewed a 12″ x 60″ tube using jersey knit, right sides together. Here’s the game-changer: before joining the short ends, I inserted one end inside the other and gave it a 180-degree twist. This creates permanent volume that prevents the scarf from lying flat. Additionally, using color-blocked styles can elevate your scarf design and make it truly unique.
I pinned carefully, sewed around the edges with a ballpoint needle, and left a 4″ opening for turning. The result? A sculptural accessory that slides on effortlessly—no tying needed. The twist showcases bold prints beautifully and reduces bulk at your neckline. With two yards of fabric, you can actually make three scarves in under an hour. I’ve made several since, experimenting with 8″ to 15″ widths for different styling options.
Felt Rainbow Scarf With Vibrant Colors

The first time I saw a wet-felted rainbow scarf at a craft fair, I couldn’t believe it had no seams—just pure, bonded wool in brilliant stripes. I immediately learned the technique: layer wool roving in ROYGBIV order, then agitate with warm soapy water using moderate pressure. The key is rolling and reshaping constantly to maintain your dimensions—I aim for 55-65 inches long and 6 inches wide. For sharp color shifts, I place each stripe carefully without overlap. For softer blending, I let colors mingle slightly at edges. After felting, rinse thoroughly and air-dry flat to prevent warping. Using a projector for pattern drafting can help you visualize the dimensions before you start.
I hand-wash mine in cool water to keep colors vibrant. Adding felted fringe or pom-poms at the ends creates extra visual punch. If you prefer a no-sew rainbow scarf, consider using fleece strips knotted along a base piece for a quick alternative that requires only scissors.
Fox and Cat Scarf Patterns for Animal Lovers
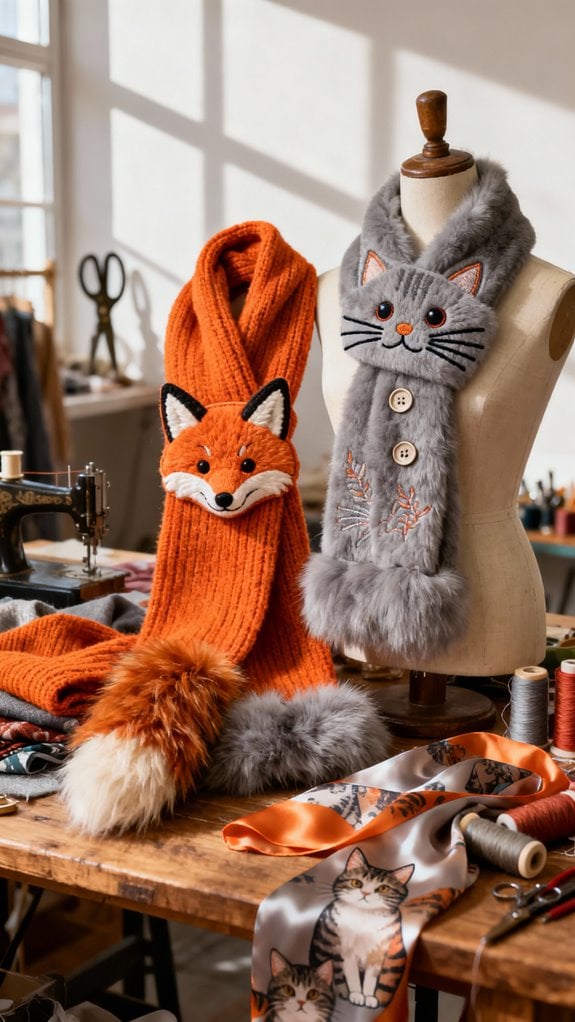
Last winter, I stitched my first fox scarf as a gift for my niece, and she refused to take it off for weeks—even indoors. I downloaded a free pattern and cut the head, tail, ears, and arms from flannel and minky. Here’s my process: sew facial elements first, then attach ears and arms with zig-zag stitches for durability. I assembled everything inside-out, leaving a gap for turning, then machine-stitched it closed. For details, I hand-stitched button eyes and embroidered the nose and whiskers. Additionally, using varied fabric types can enhance the texture and comfort of your scarf.
Cat scarf patterns work similarly—some come in hooded versions with playful ear motifs. You can customize length, stuff for plushness, or keep it flat. The versatile pattern also allows you to create different animal scarves beyond just foxes and cats. Both patterns suit children and adults, making them perfect gifts for animal lovers seeking ethical, whimsical alternatives.
Kitchen Towel Scarf for Sustainable Crafting
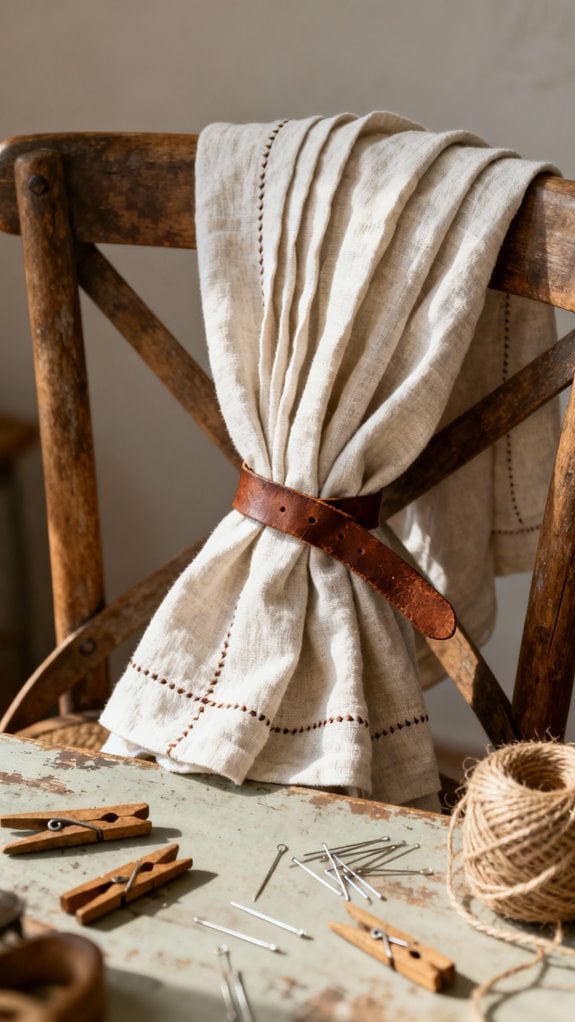
Guilt nagged at me every time I tossed another paper towel in the trash, so I started hunting for ways to make my kitchen routine more sustainable. That’s when I discovered the kitchen towel scarf—a wearable towel that hangs around your neck while you cook.
I cut a flour sack towel in half and sewed each piece to the ends of a 40″ cotton quilting fabric strip. The towel ends absorb spills instantly, and I don’t fumble for loose towels anymore. After washing and ironing my fabric first, I folded the edges, topstitched everything together, and had my scarf ready in under an hour. This project is a great way to practice beginner-friendly sewing skills while creating something functional.
It’s beginner-friendly, keeps my hands dry, and eliminates paper waste. I’ve made several as gifts, and everyone loves this practical zero-waste solution. For a more polished look, I added decorative ribbon between the fabric tube and towel ends on my latest version.
DIY Neck Warmer for Cold Weather
While kitchen towel scarves keep me comfortable indoors, I needed something entirely different when winter winds started biting at my neck during morning walks. I discovered DIY neck warmers solve this perfectly.
I cut two 20-inch fleece squares in contrasting colors, creating a reversible design. After pinning them right sides together, I used a zigzag stitch around the edges, leaving a 3-inch opening. Turning it right side out revealed my cozy double-layer warmer.
Adding snaps for closure took just minutes, though decorative buttons work beautifully too. The entire project consumed only 15 minutes. Creative sewing projects allow for a range of customization options, enhancing the uniqueness of each piece.
What I love most? The double fleece traps warmth brilliantly while staying slim enough under my coat. I’ve since made five more as gifts—each personalized with different fabric combinations. These neck warmers work equally well as a hat when pulled up over my head during particularly frigid mornings.
Leather and Flannel Scarf With Mixed Textures
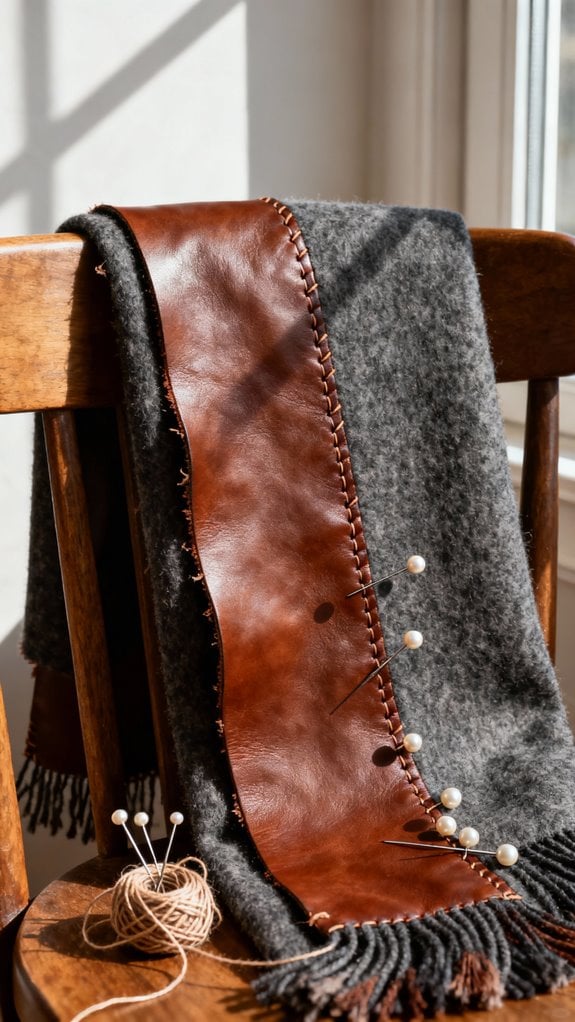
Something magical happens when you stitch leather against flannel—suddenly you’ve got a scarf that’s both refined and cozy. I cut 0.75 yards of each on the bias (that 45-degree angle gives you incredible drape), then slice them into 10-inch strips.
Layer your leather and flannel pieces, pin carefully, and zigzag stitch along the edges. I’ve found that topstitching the leather panels prevents annoying curling later. For the flannel sections, run a serger around the perimeter to stop fraying. Incorporating mixing textures can elevate your sewing projects by adding unique visual appeal.
The finished scarf measures roughly 70 inches long—perfect for looping or draping over your coat. That smooth-meets-soft contrast creates serious visual interest.
If you’re looking for variety in your scarf projects, try incorporating multiple stitch textures for a more dimensional finish.
Care’s straightforward: hand-wash the flannel portions, spot-clean the leather. Store it flat to avoid creasing.
Hooded Scarf for Maximum Winter Protection
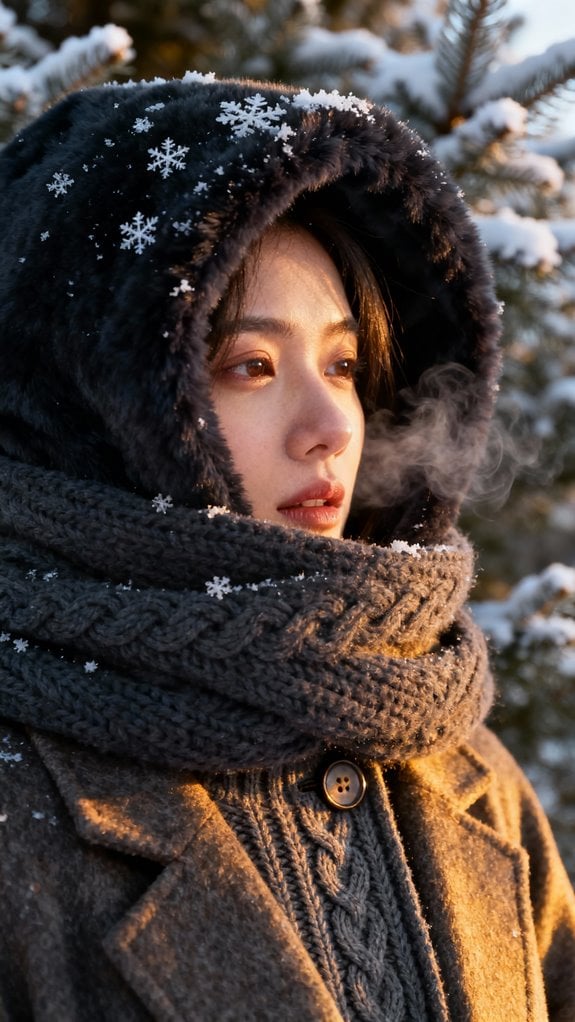
If you want protection that goes beyond what a simple scarf can offer, a hooded version changes everything. I’ve sewn several of these, and they’ve become my winter lifesavers—shielding my head, neck, and chest from brutal wind and snow without juggling separate accessories.
I recommend thick fleece or wool blends with double-layer construction. Cut your hood pattern first, then attach an extended scarf portion that wraps multiple times. Adding toggles or snaps lets you adjust coverage quickly. Many sewing enthusiasts find that beginner-friendly projects like this can boost confidence and skills.
What surprised me most was how this design prevented my usual winter tension headaches by keeping cold drafts off my neck. The continuous coverage maintains body temperature better than any hat-scarf combo I’ve tried. This style functions similarly to snoods that wrap around for versatile wear as either a scarf or hood depending on weather conditions. Perfect for outdoor activities or daily commutes in harsh climates.
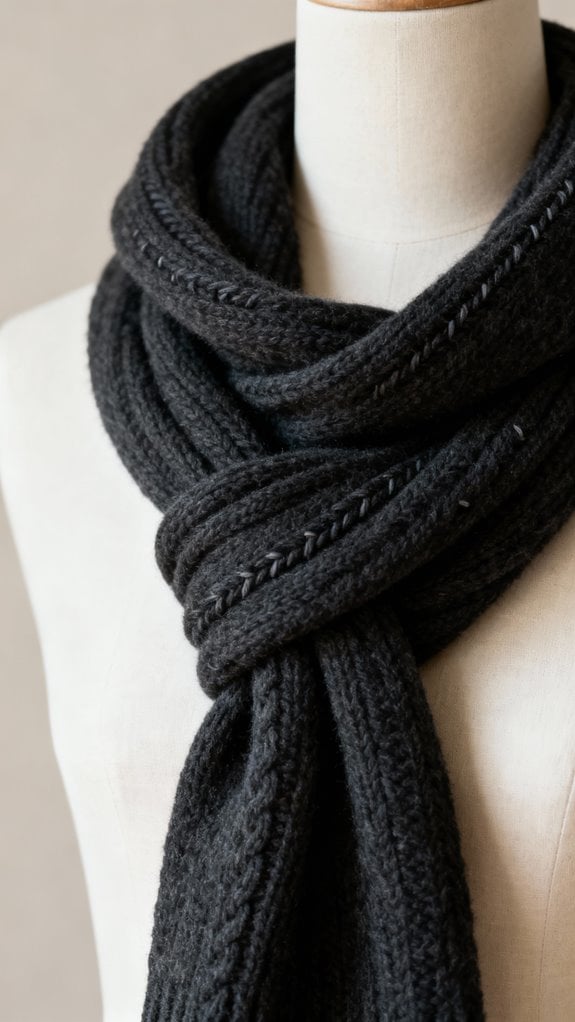
Loop & Tuck Scarf With Secure Fit
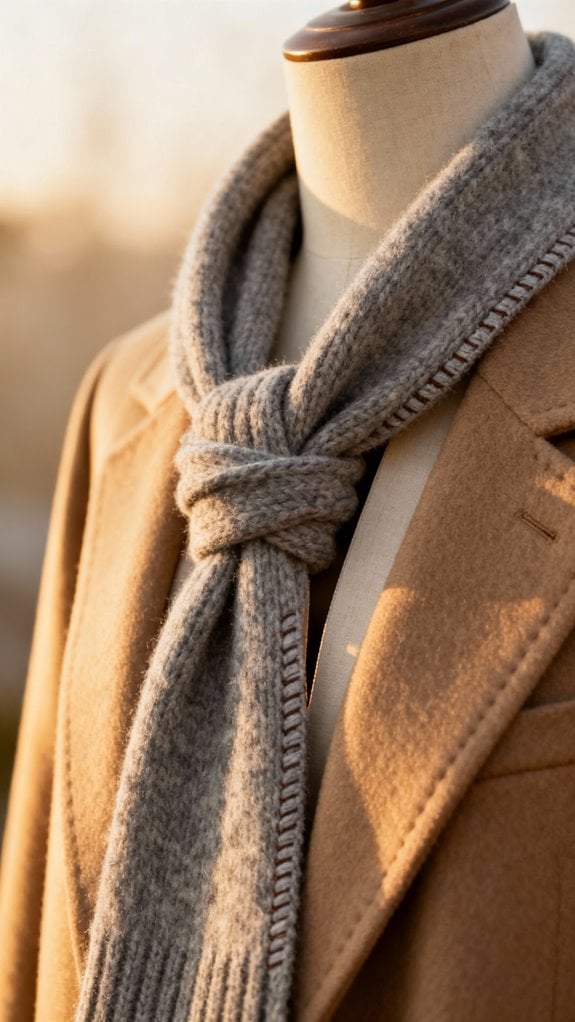
The loop and tuck scarf solves my biggest winter frustration—scarves that constantly loosen and unravel throughout the day. I sew a fabric tube from midweight knit or fleece, typically 8 inches wide by 32 inches long. Before closing the tube, I create a 3-inch fabric loop at one end by folding and stitching a small tunnel into the seam. After turning everything right side out through a small opening, I press the edges and slip stitch it closed for a seamless finish.
The magic happens when I thread one end through the loop—it stays put during activity while distributing fabric evenly around my neck. This design works perfectly for both newcomers and seasoned sewists since the construction is straightforward. I’ve made versions for my kids using jersey knit, and they’ve eliminated morning battles over uncomfortable scarves that shift constantly.
Keyhole Scarf With Decorative Opening
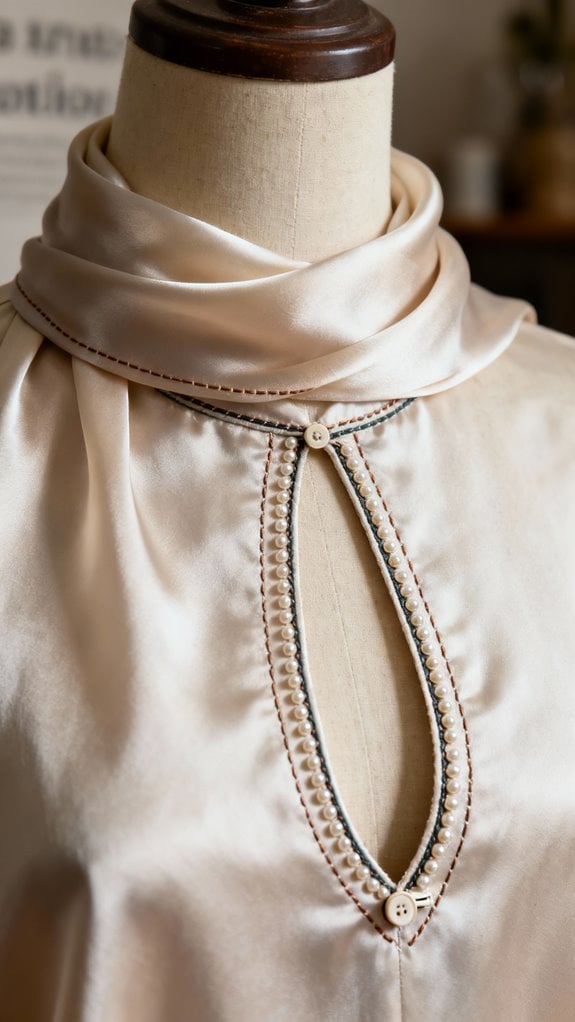
While the loop and tuck design works brilliantly for active wear, I’ve found myself reaching for keyhole scarves when I want something that looks more intentional and polished.
The construction is straightforward: I sew two fabric layers together, leaving a turning gap. Before flipping right side out, I create a reinforced slit about 6–10 inches from one end—this becomes my keyhole opening. I always topstitch around the perimeter for durability, then close the gap with an invisible ladder stitch.
What I love most is the decorative potential. I’ve experimented with contrasting fabric binding around the opening, added embroidery details, and even incorporated tassels at the ends. The keyhole stays secure without bulk, making it perfect for both quick errands and polished outfits.
Reversible Scarf With Contrasting Fabrics

Because reversible scarves give me two completely different looks without taking up extra drawer space, they’ve become my go-to beginner project when I want maximum impact with minimal effort.
I cut two 70-inch fabric strips—fleece paired with flannel works beautifully. Then I pin right sides together and sew around the edges, leaving a 4-inch gap. After clipping corners, I turn everything right side out and press carefully with a cloth over synthetics.
Top-stitching around the perimeter closes that gap while creating crisp edges that look store-bought. Using matching thread colors—one for the top thread and another for the bobbin—ensures both sides look professionally finished. I’ve made one side holiday-themed and the other everyday solid, which extends wearability beyond December.
For infinity versions, I simply sew the short ends together after turning. The construction hides all raw edges, making hand-sewing practically unnecessary.
No Sew Blanket Scarf With Fringe Edges
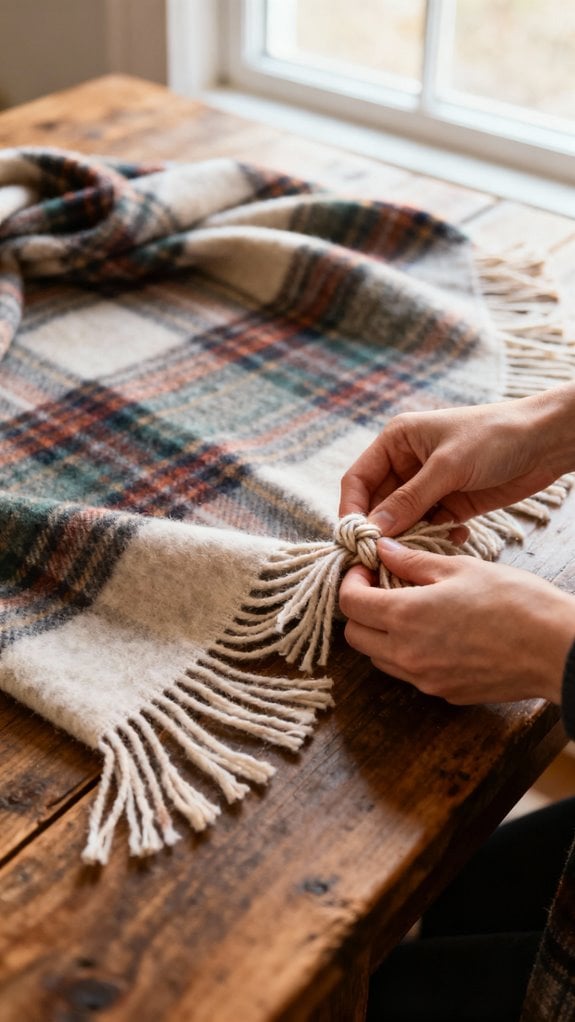
Not everyone owns a sewing machine, and honestly, some projects don’t need one. I’ve made blanket scarves by simply cutting and fringing fabric—no stitching required.
I start with 2 yards of flannel or fleece. After straightening the edges with sharp scissors, I trim off the selvage sides since they won’t fray. I fold the fabric diagonally to check it’s square, aiming for about 54″x54″.
The fringing takes patience—I pull threads by hand from each edge, creating a 2-inch border. A seam ripper helps with stubborn weaves. This step easily takes over an hour, but the results are worth it.
Plaid patterns create the most uniform fringe. I’ve gifted these scarves during holidays—they’re inexpensive yet thoughtful. When selecting fabric at the store, I test the drape by pinching it between my fingers and letting it fall to ensure it will hang nicely when worn.
Braided T-Shirt Scarf From Upcycled Materials
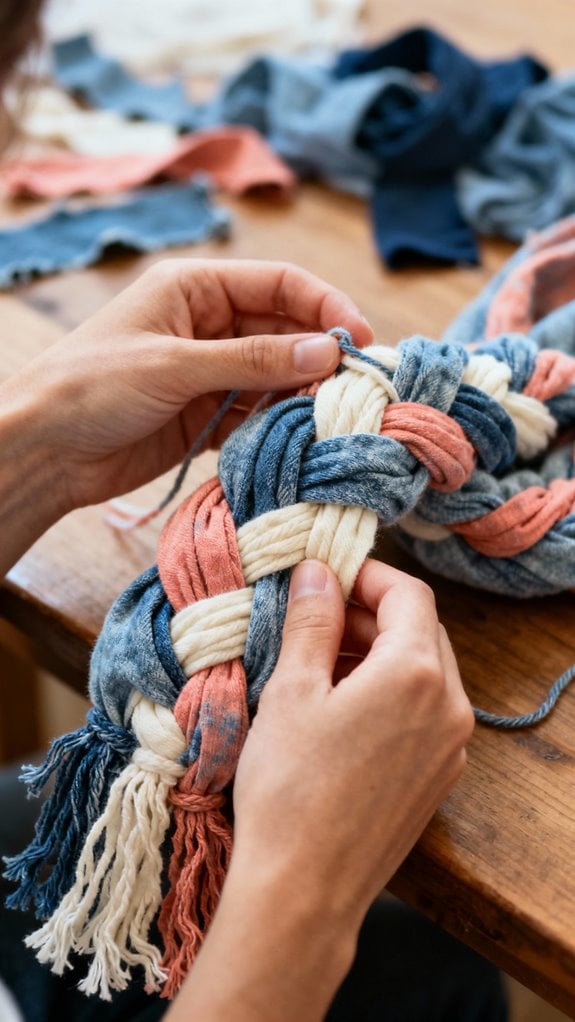
I’ve made dozens of braided t-shirt scarves from old concert tees and worn-out shirts I couldn’t bear to toss. You’ll need 2–4 shirts and fabric scissors—that’s it. Cut the body horizontally into 1–2 inch strips, removing sleeves and seams. Pull each strip to make the jersey edges curl naturally for a polished look.
I usually grab three strips in contrasting colors and secure them with an overhand knot. Then I braid using a traditional 3-strand technique, though 4-strand creates impressive thickness. To add visual interest, twist strips counterclockwise before crossing the left hand over the right to swap sides. Mix different strip widths for texture. Once you’ve reached your desired length, knot the ends together for an infinity scarf or leave them loose with fringe.
The entire project takes under an hour, and you’re upcycling materials that’d otherwise hit the landfill.
Gaiter Scarf for Snug Neck Coverage
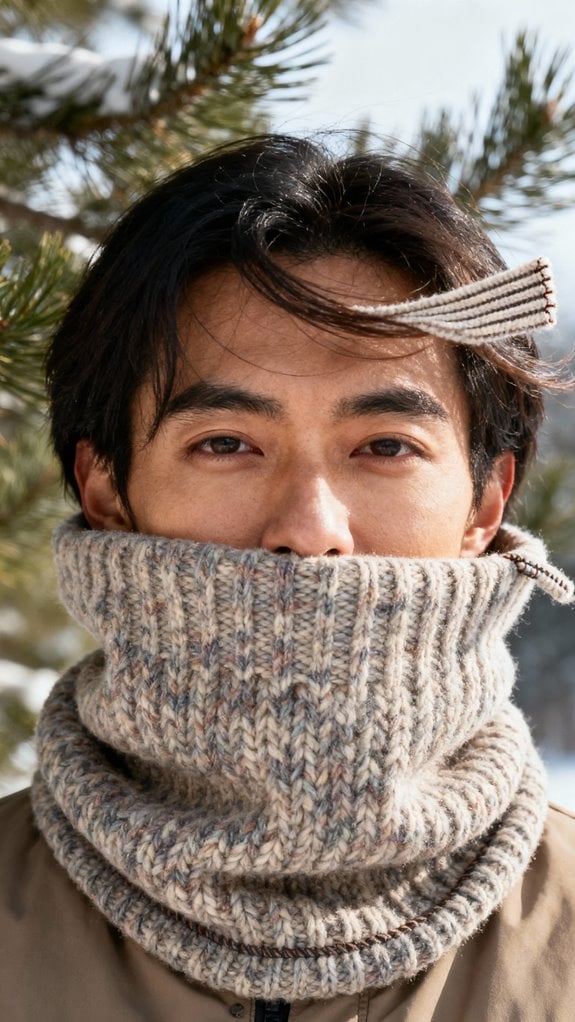
A gaiter scarf solves the annoying gap between your coat collar and chin that lets icy wind sneak through. I’m obsessed with how quickly you can make one—literally 15 minutes from fabric to finished piece.
Grab stretchy knit fabric or fleece measuring about 18″x20″. You’ll need at least 50% horizontal stretch for that snug-but-comfortable fit. Fold your fabric lengthwise, sew along the long edge using a zigzag stitch (this prevents seam breakage when stretched), and leave a 3″ gap for turning. Before you start cutting, wash and press your fabric to prevent any shrinkage issues later.
I always make mine double-layered for extra warmth. The tube design means no raw edges rubbing against your neck, which I appreciate during long winter walks. You can pull it up over your ears, scrunch it as a cowl, or even add a filter pocket if you want multi-season versatility.
Shirred Scarf With Gathered Texture
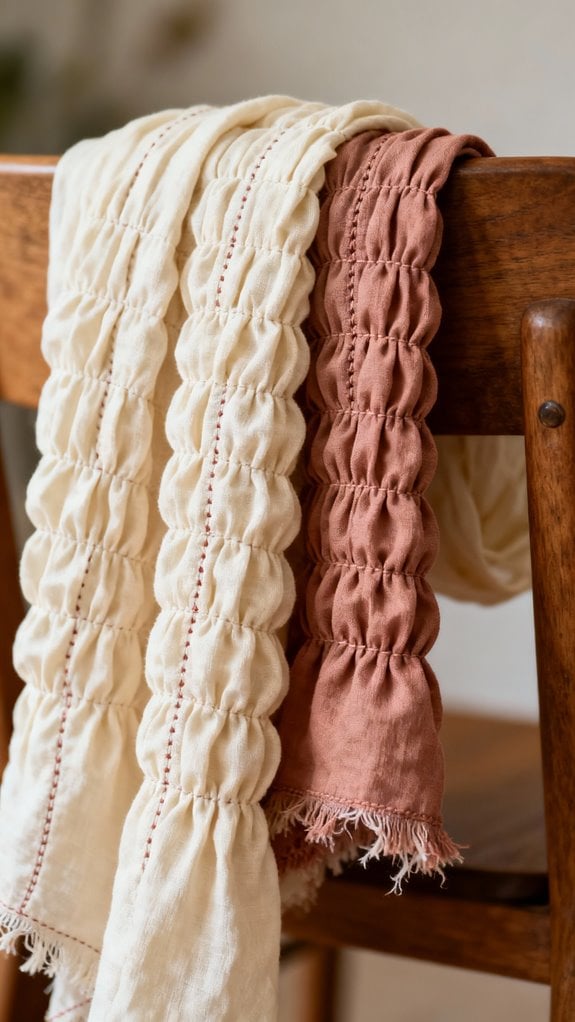
While gaiter scarves give you practical warmth, shirred scarves let you play with texture in ways that make even simple fabric look designer-level fancy.
I hand-wind elastic thread onto my bobbin—never machine wind, as it stretches the elastic. Using lightweight chiffon or voile, I cut strips 7 inches wide and 55–70 inches long. After switching to a long stitch length, I sew parallel rows about 2–3 inches apart with the elastic thread in the bobbin only.
The magic happens as the elastic contracts, creating gorgeous gathers. I always test on scraps first to nail the tension settings. Loosening the tension on your machine before shirring helps the elastic thread work properly and prevents thread breakage.
For color-blocked designs, I shirr directly at the seams between fabric panels. Two rows give me denser texture, while one central row creates a cascading ruffle effect that’s surprisingly elegant.
Conclusion
I’ve shared my favorite scarf sewing projects with you, and I can’t wait to see which one you’ll tackle first! I started with a simple infinity scarf last winter, and now I’m hooked on creating unique pieces for my wardrobe. Remember, there’s no wrong choice here—whether you’re upcycling old t-shirts or working with luxurious felt, you’re building valuable skills. Grab your fabric and sewing machine, and let’s get started on your first project today!