15 Best Necktie Sewing Ideas You Need To Try!
I’ve been sewing neckties for years, and I can tell you there’s something deeply satisfying about creating an accessory that transforms an entire outfit. Whether you’re crafting a classic silk tie with hand-finished seams or experimenting with upcycled denim for casual wear, the possibilities are endless. I’ve learned that the right fabric choice and interfacing make all the difference. Let me share the techniques that’ll help you create professional-looking ties you’ll actually want to wear.
Key Takeaways
- Classic silk neckties require bias-cut fabric at 45° with hand-finished seams and measure 140 cm for proper length.
- Upcycled ties from denim or vintage shirts reduce textile waste while creating unique, sustainable accessories with distinctive character.
- Patchwork and color-blocked designs use fabric scraps creatively, requiring solid backing for structure and diagonal seams for proper assembly.
- Personalized monogrammed ties need careful stabilizer placement 2–3 inches above the tip, keeping designs under 1.5 inches wide.
- Kid-friendly clip-on ties and miniature dog neckties offer quick 20-minute projects with safe elastic loops or collar casings.
Classic Silk Necktie With Hand-Finished Seams
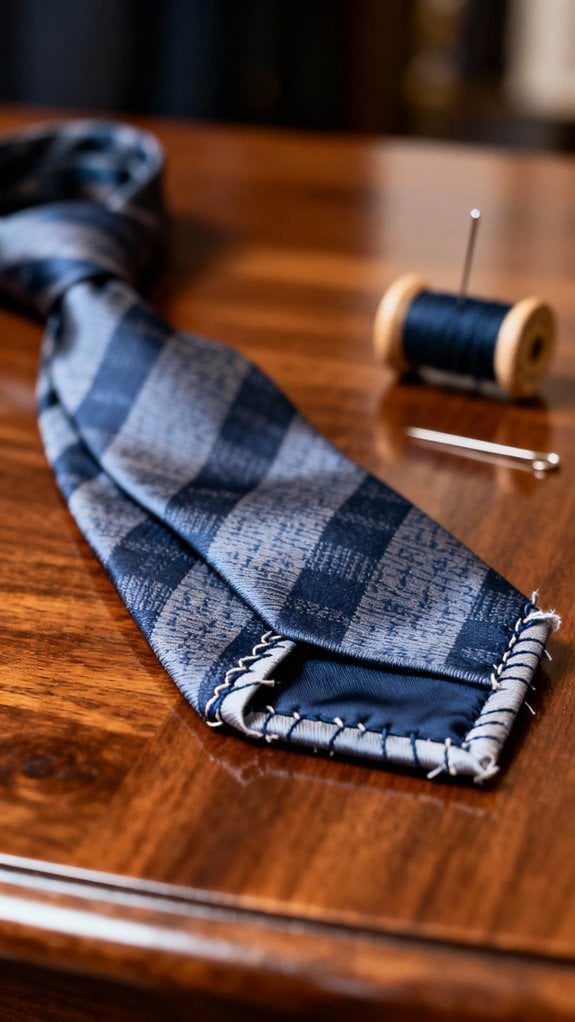
When I made my first silk necktie years ago, I underestimated how much the fabric choice would affect the final drape—and I learned quickly that medium-weight silk transforms a simple accessory into something truly elegant. I always cut my fabric on the bias at 45° to preserve that gorgeous fluidity. The real magic happens during hand-finishing: I press 1/4″ seam allowances under, then use a loose slip stitch down the center back. Treating my thread with beeswax prevents tangling during those long stitching sessions. I’ve learned to lift my iron rather than push it across bias-cut silk—this prevents stretching. The keeper loop, crafted from silk scraps, gets inserted into the blade seam. I secure it by tacking each side to the back of the tie after pressing it flat. Additionally, using interfacing materials can enhance the structure of your necktie for a more polished look. My finished ties measure approximately 140 cm, with tips resting just above my belt line.
Upcycled Denim Tie for a Casual Statement
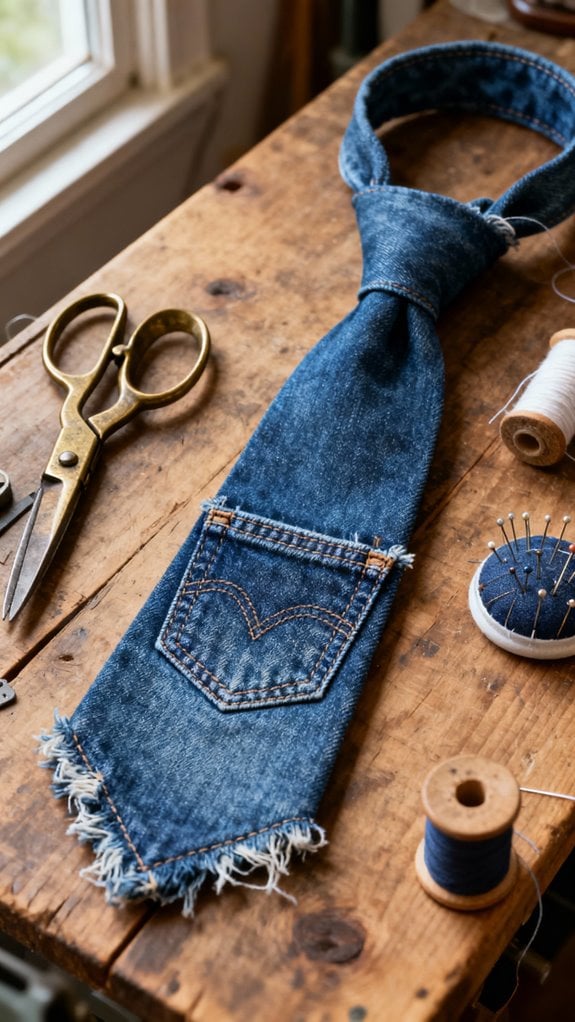
After years of making traditional silk ties, I discovered that denim creates an entirely different vibe—one that pairs perfectly with weekend button-downs and casual blazers. I started raiding my old jeans drawer, choosing medium-weight denim that drapes better than stiff new fabric.
I always pre-wash the denim to prevent shrinking and dye bleeding later. After removing bulky seams and pockets, I iron everything flat before tracing my pattern. When sewing, I use a 3/8-inch seam allowance and notch curves carefully so the fabric turns smoothly.
Topstitching along the edges gives my ties a polished finish while keeping them stable. I’ve experimented with contrasting thread colors and even incorporated jean labels for character. For a beginner-friendly option, you can complete a denim tie project in just one evening using basic materials. Additionally, using sustainable materials not only enhances your creativity but also contributes to reducing textile waste. The result? A sustainable accessory that reduces textile waste while making a unique style statement.
Luxurious Velvet Tie for Formal Occasions
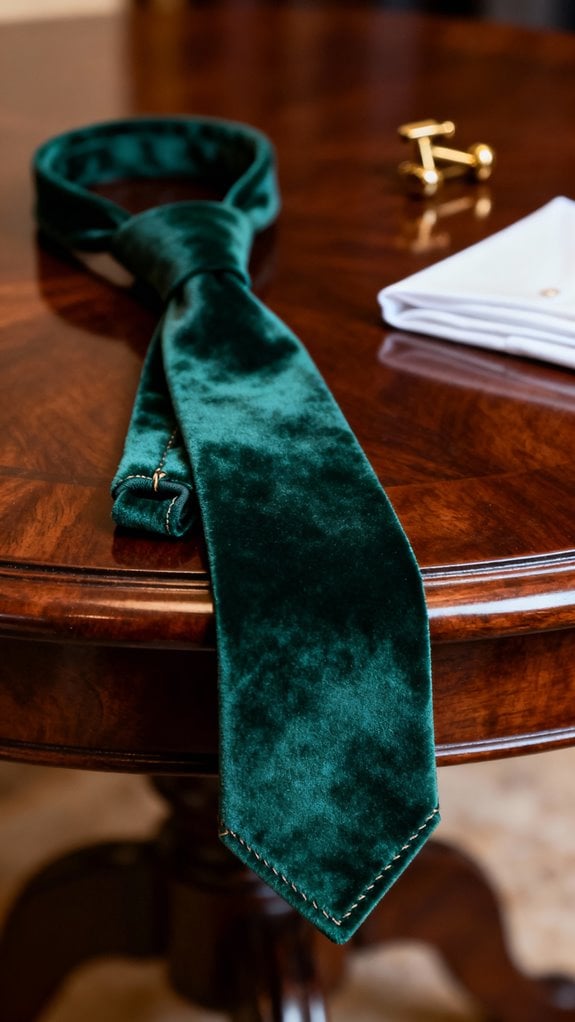
The moment I ran my hand across silk velvet for the first time, I knew I’d found the perfect fabric for evening wear. That luxurious sheen transforms any formal outfit instantly.
I always cut velvet in single layers using sharp shears, marking with tailor’s tacks to protect the pile. Here’s my essential tip: align every piece in the same nap direction, or you’ll get uneven coloring. Classic neckties made from velvet can elevate your look and impress at any event.
Before machine stitching, I hand-baste seams to prevent slippage. I use a walking foot and size 70 needles with silk thread, stitching in the pile’s direction. I also loosen machine tension slightly to avoid bruising the delicate pile.
For pressing, I steam only—never direct iron contact. I place the velvet pile-side down on a needle board.
Deep colors like burgundy or navy create stunning formal ties that pair beautifully with matte suits.
Patchwork Necktie Using Fabric Scraps
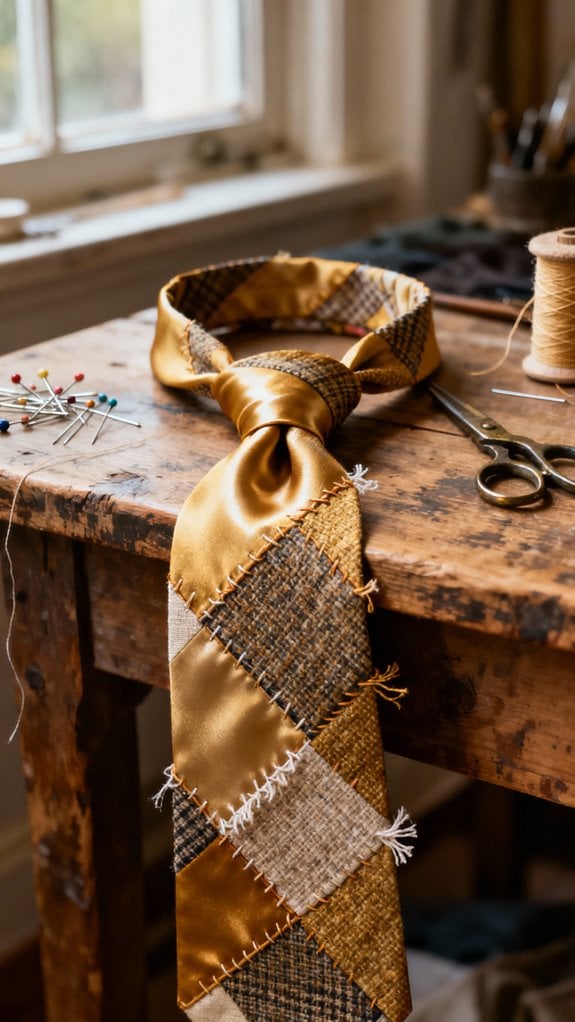
While formal velvet ties showcase elegance through premium materials, I’ve discovered equal satisfaction in creating distinctive neckties from humble fabric scraps. I collect 10-15 old ties, disassemble them by picking seams, and remove linings before washing and pressing the outer fabric.
My technique involves overlapping tie ends by at least half an inch and stitching them together using a diamond pattern. I alternate placement—large end to small end—creating a symmetrical strip. After sewing through all layers, I press seams open for a professional finish.
Strip quilting works perfectly with neckties’ pre-cut shapes. I’ve experimented with crazy quilt blocks for dynamic patterns and even added decorative patches along edges. Using solid fabric backing provides essential structure while highlighting the patchwork front’s creative character. Additionally, incorporating recommended tools can enhance your sewing experience and improve the quality of your finished necktie.
Skinny Tie With Contemporary Silhouette

Skinny ties transformed my approach to necktie construction when I realized their streamlined 1.5 to 2.5-inch width demands precision I’d previously overlooked. I start with 57-59 inches of fabric, cutting a consistent taper from neck to tip. Lightweight interfacing is essential—I learned this after my first bulky attempt ruined the sleek silhouette. For a polished finish, consider using quality fabrics that provide structure without bulk.
I prefer bold solids or geometric prints that emphasize the narrow shape. The key is maintaining clean lines throughout construction, especially at seam finishing and the pointed end. I’ve found these ties work best paired with slim-fit shirts and tailored suits, creating visual harmony that wider ties can’t achieve. Sleek fabrics like silk or fine wool enhance the slender profile while keeping the tie suitable for semi-formal occasions.
For styling, I recommend a simple four-in-hand knot. Adding a tie bar elevates the look from casual to polished instantly.
Christmas-Themed Novelty Necktie

When December rolls around, I transform simple fabric into conversation-starting Christmas neckties that outlast any ugly sweater. I start with cotton-polyester blends featuring bold holly, candy canes, or playful reindeer prints—the high contrast makes motifs pop across the room. Adding decorative touches like embroidery or piping can elevate the overall design and make each tie truly unique.
My process involves cutting two or three curved panels using templates I’ve created from recycled card stock. I always add wool interfacing inside for professional drape and structure. For extra flair, I incorporate gold piping along the edges or embroider personalized initials.
My favorite project last year? Matching father-son ties with vintage Santa prints on one side and subtle plaid on the reverse—completely reversible for versatility. I pair festive ties with solid navy shirts to balance the holiday exuberance. These handmade gifts become cherished keepsakes that recipients actually wear year after year. Popular motifs include Christmas pickup trucks, gingerbread men, and festive tree patterns that capture the holiday spirit.
Linen Summer Tie With Bias-Cut Construction
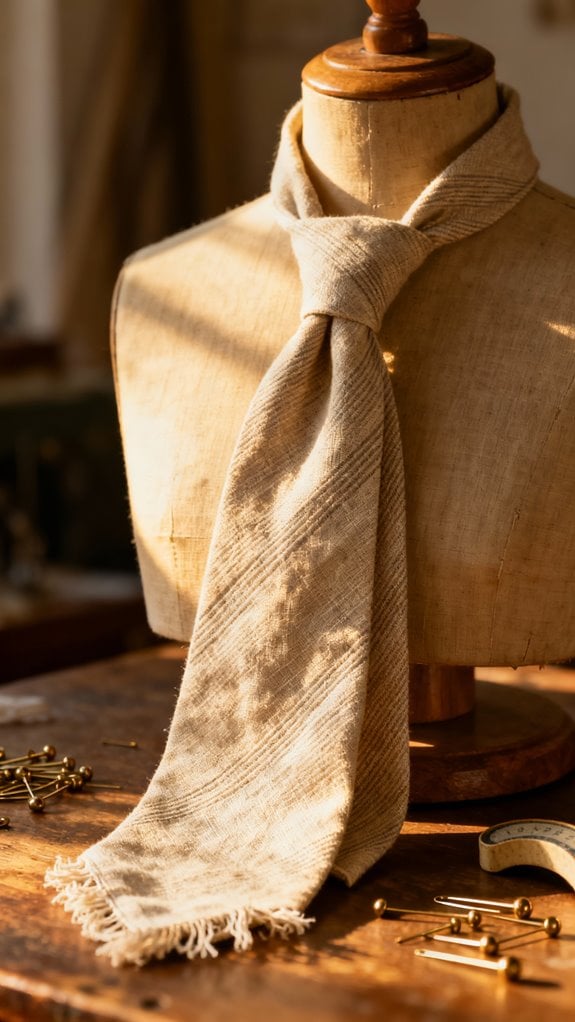
As summer temperatures climb, I reach for linen instead of silk to create neckties that actually breathe. The moisture-wicking fibers keep me comfortable even in humid weather, and that slightly textured surface adds casual sophistication. Using a dedicated sewing projector can enhance pattern alignment and ensure accuracy when cutting your fabric pieces.
I always cut linen on the true bias—45° to the grain—using a sharp rotary cutter for precision. This technique transforms the fabric, giving it beautiful drape and wrinkle resistance. I cut each tie segment separately on a single layer, then join strips with diagonal seams pressed completely flat.
For finishing, I use bias-cut linen strips instead of traditional lining. I fold them lengthwise, stitch to seam allowances, then steam-press with a clapper. Trimming seams to ¼ inch and snipping curves guarantees everything lies flat. The same approach works beautifully when repurposing vintage silk ties, where removing the woven interfacing prepares the fabric for new bias applications. Gentle hand washing keeps these ties looking crisp season after season.
Kids’ Clip-On Tie for Easy Dressing
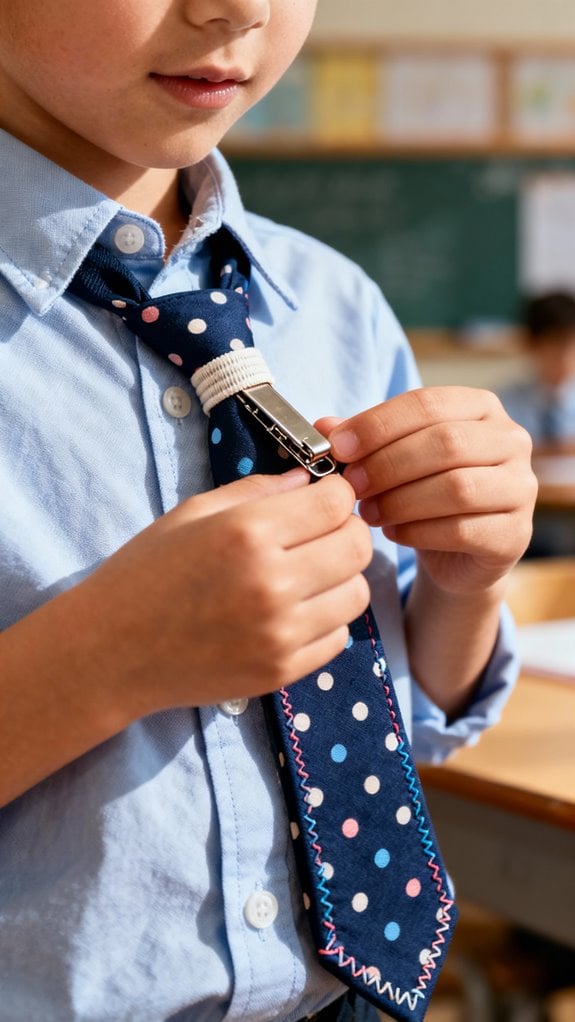
Getting my son ready for picture day used to involve tears, tantrums, and a wrestling match over his collar. Then I discovered clip-on ties, and mornings transformed completely.
I cut cotton fabric to 14″x5″ for my preschooler and fused interfacing to the wrong side for structure. After folding and stitching the tie shape, I pressed crisp edges with my iron. The game-changer? Sewing a small elastic loop inside the faux knot that slides behind his collar—no choking hazards, no irritation. Choosing fabrics that are soft and breathable is also crucial for comfort.
The entire project took me 20 minutes. I’ve since made chevron prints, holiday patterns, and solid colors he can swap based on his outfit. Free PDF patterns made sizing foolproof, and craft store clips work perfectly for quick attachment. These faux ties eliminate the frustration of wrestling with traditional neckties during busy mornings.
Embroidered Monogram Tie for Bespoke Style
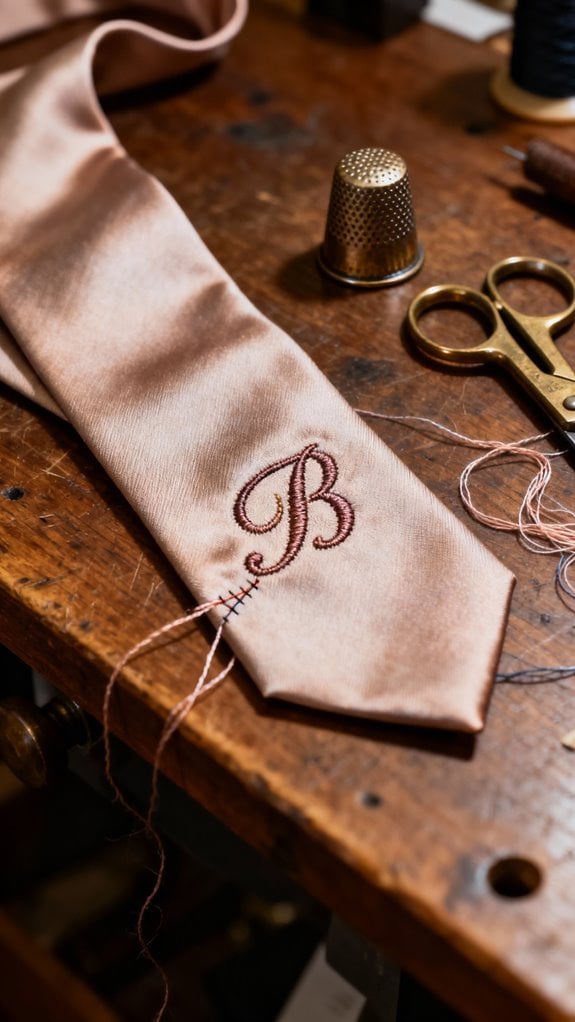
After my brother’s wedding, where I spotted a groomsman wearing a subtly monogrammed tie, I knew I had to recreate that bespoke elegance.
I started by carefully opening the tie’s back lining to access the fabric area. Using a manila folder template preserved the tie’s original shape. I positioned my monogram 2–3 inches above the tip, keeping it under 1.5 inches for sophistication.
The key was using tearaway stabilizer underneath and water-soluble topping above to prevent puckering on my silk tie. I tested tension settings on scrap fabric first—crucial when working with metallic threads. For the bobbin, I paired it with 80wt DecoBob to create a soft finish against the skin.
After embroidering with a 70/10 needle, I hand-stitched the lining closed. The result? A personalized accessory that transforms ordinary neckwear into something truly distinctive for special occasions.
Vintage Shirt Upcycle Into One-Of-A-Kind Tie
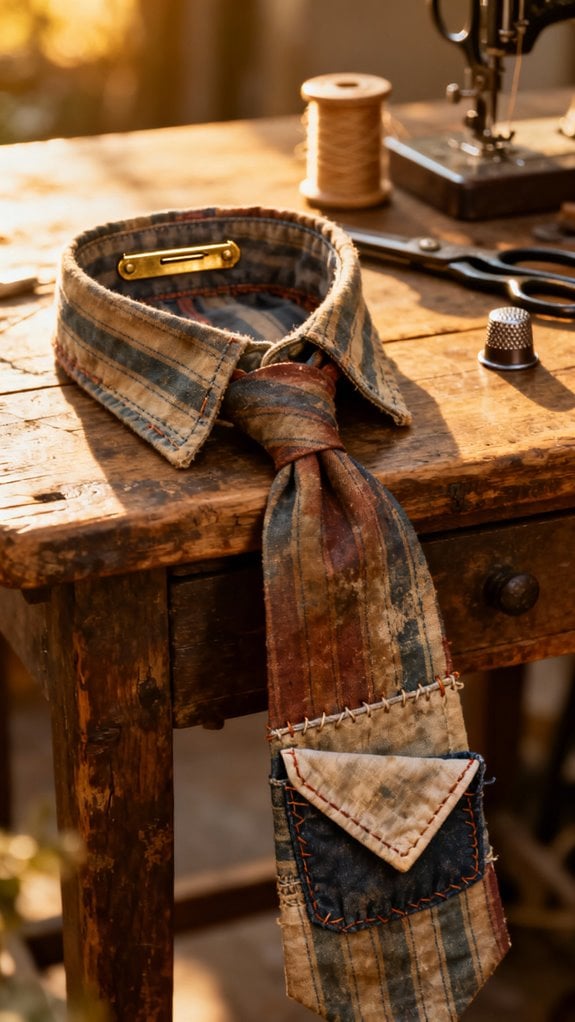
While monogramming adds personal flair to existing ties, I’ve discovered an even more rewarding approach—transforming vintage shirts destined for the donation pile into statement neckties. I hunt thrift stores for patterned cotton or silk shirts with unique details like embroidered pockets or button plackets.
I cut a 58-60″ bias strip from the shirt, which guarantees proper drape when knotting. The bias cut is essential—it allows natural stretch. I incorporate salvaged interfacing from old ties for structure, then hand-stitch a slip stitch along the back for that polished finish.
My favorite customization? Adding contrast cuff details or vintage buttons. Last month, I transformed a 1970s geometric print shirt into three ties that cost pennies compared to designer alternatives while preventing textile waste. These handmade ties also add a personal touch to any outfit, making them perfect gifts or wardrobe staples.
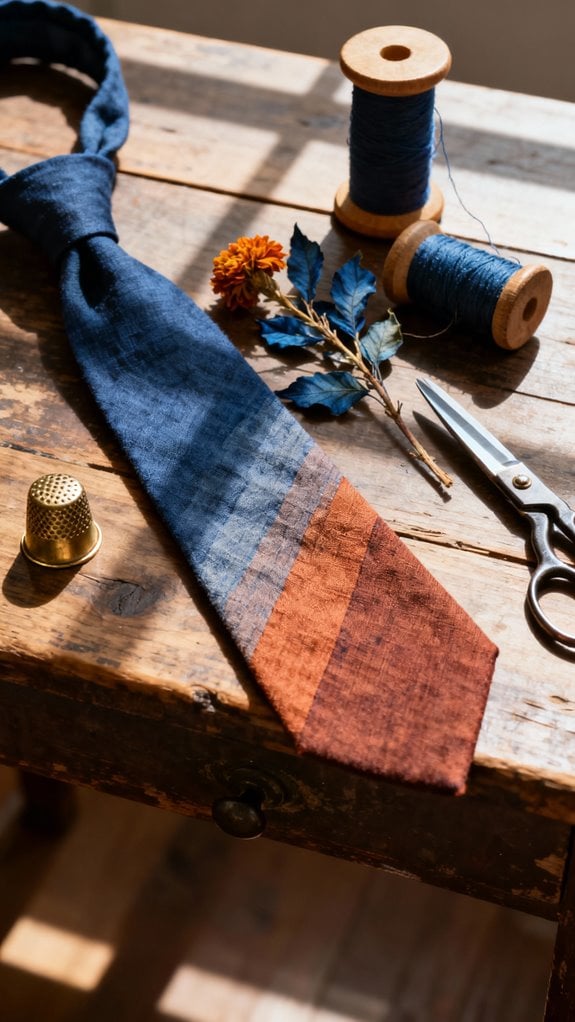
Color-Blocked Necktie With Contrast Lining
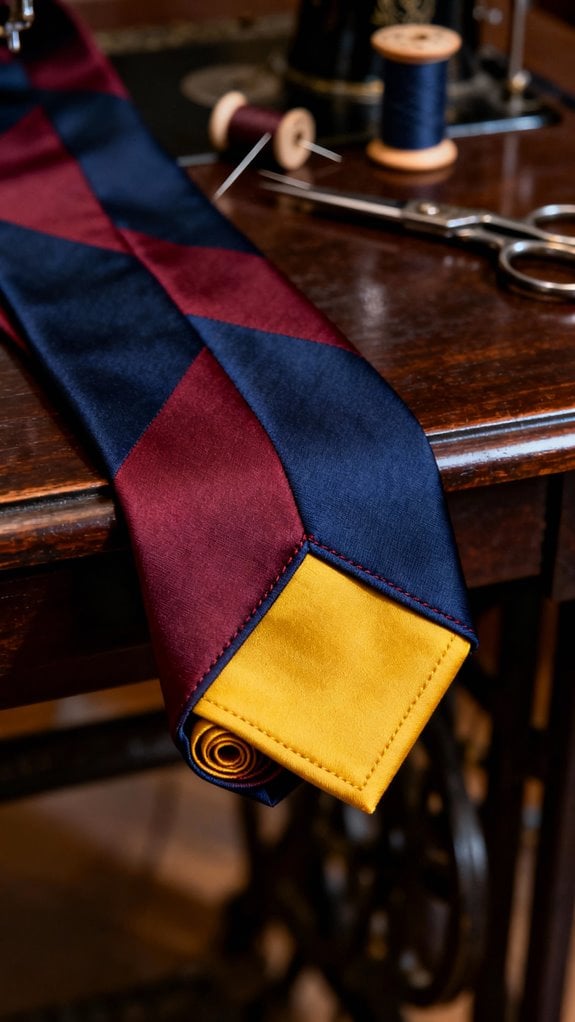
When I first experimented with color-blocked neckties, I couldn’t believe how much visual impact a simple seam could create. I cut two complementary fabrics on the bias—one navy crepe, one burnt orange silk—and joined them with a double straight stitch followed by a zigzag edge to prevent fraying.
The game-changer was adding contrast lining. I chose a bright coral lightweight fabric that peeked out at the tip, adding unexpected flair. After joining the outer fabrics, I carefully applied interfacing, trimming bulk at seams to keep color block lines crisp.
Pressing seams open at each stage proved essential. I positioned the diagonal color division to fall just below the knot, creating striking visual separation. This complementary color scheme between the navy and orange created a strong visual contrast that elevated the entire design. The result? A statement piece that works beautifully for both casual and formal settings.
Wool Winter Tie With Structured Interfacing
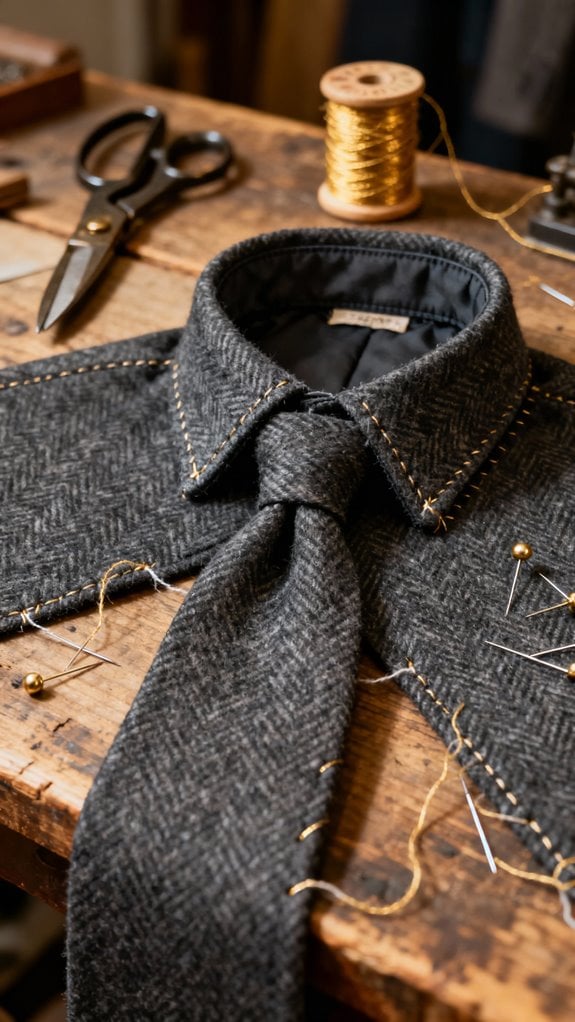
Color-blocking works wonders in warmer months, but I’ve discovered that winter demands a different approach entirely. I now reach for wool ties with structured interfacing when temperatures drop. The key is cutting fusible weft interfacing on the bias—this mirrors the fabric grain and preserves that beautiful drape wool naturally offers.
For worsted wool, I use lightweight interfacing along the tie’s full length, stopping just before the narrow tip for flexibility. I’ve learned to press—never slide—with a press cloth at mid-high heat. The result? Outstanding wrinkle resistance and shape retention through countless wears. Wool interlining helps your finished ties bounce back to their original shape after each wearing, making it an ideal choice for construction.
When working with heavyweight tweeds, I skip interfacing altogether to avoid bulky knots. Either way, structured wool ties pair perfectly with textured winter garments, offering substantial elegance that lighter fabrics simply can’t match.
Golf-Themed Tie With Appliqué Details
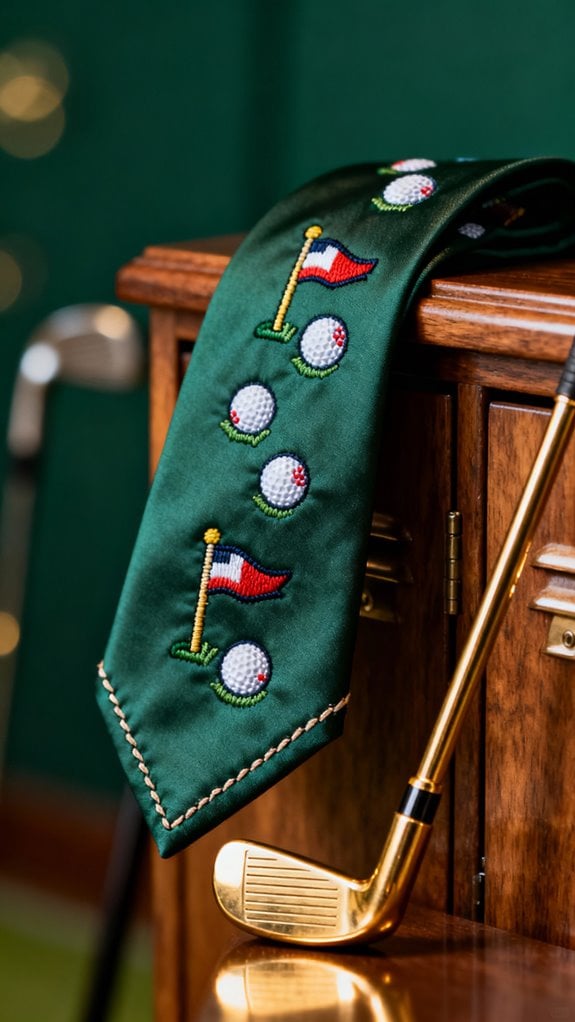
Last summer, I stitched my first golf-themed tie for my father-in-law’s retirement, and watching his face light up when he opened that gift box convinced me that personalized neckwear carries weight no store-bought option can match. I chose navy silk and cut small golf club and ball shapes from green fabric. After applying lightweight fusible interfacing to prevent puckering, I positioned each appliqué patch and secured them with satin stitch edges for crisp definition. I hand-embroidered his initials near the tip for extra sentiment. The key is precision cutting and pressing after each layer attachment—skipping these steps leads to bunching. Appliqué techniques work beautifully for incorporating fabric cut-outs into necktie designs, whether you’re adding golf motifs or other personalized elements. Consider coordinating pocket squares or bow ties using the same technique, and don’t hesitate to mix appliqué with embroidery for tournament dates or club logos.
Natural-Dyed Organic Cotton Necktie
Appliqué work satisfies my urge for bold graphic impact, yet sometimes I crave the understated elegance that only natural plant dyes can deliver. I start with 100% organic cotton and pre-wash it using pH-neutral detergent. My favorite dye sources include turmeric for golden orange, red cabbage for purple-to-green shifts, and avocado pits for dusty rose. I always crush botanicals thoroughly, simmer them for at least an hour, then strain the dye bath. Before dyeing, I pre-soak my necktie fabric in an alum mordant solution for color fastness. For tie-dye patterns, I bind sections with rubber bands, creating spirals or stripes. Adjusting pH with vinegar or baking soda shifts hues beautifully. After overnight soaking, I rinse in cold water and air-dry in shade to preserve those soft, earthy tones. I always conduct a swatch test first with small fabric scraps to check for any unexpected color variations before committing my full necktie piece.
Miniature Dog Necktie Accessory
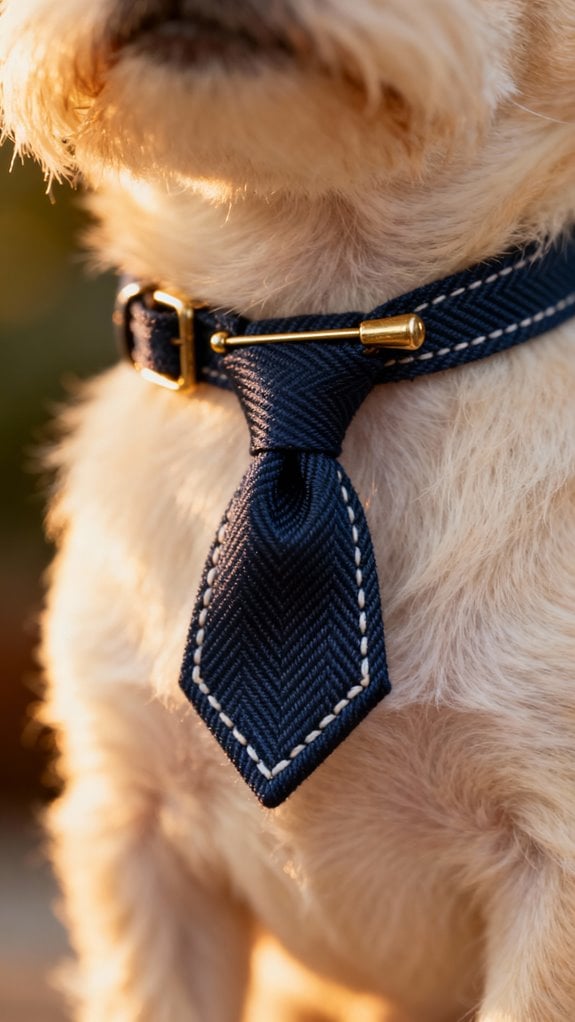
When I first decided to sew a necktie for my neighbor’s terrier, I wasn’t sure if the project would feel too novelty-focused or genuinely practical—but after watching that little dog strut around in his dapper accessory at a backyard party, I was hooked. I’ve since learned that PDF patterns make sizing straightforward, with templates ranging from XXS to XXL. I recommend using stable woven cottons or repurposed human neckties for unique prints. The construction involves sewing two fabric pieces right sides together, turning them out, then creating a faux knot through strategic folding. A casing at the top slides over your dog’s existing collar—no extra fasteners needed. For safety, I always guarantee smooth finishes and reinforced seams, keeping comfort front and center. The entire project can be completed in an afternoon, making it an ideal weekend activity for pet owners.
Conclusion
I’ve explored every one of these necktie projects, and I’m still amazed at how a simple strip of fabric can transform an outfit. Last month, I made my first patchwork tie from vintage scarves, and it’s become my signature piece. Don’t worry if your first attempt isn’t perfect—I’ve unpicked more seams than I can count! Start with the denim tie; it’s forgiving and absolutely worth the effort. You’ve got this!