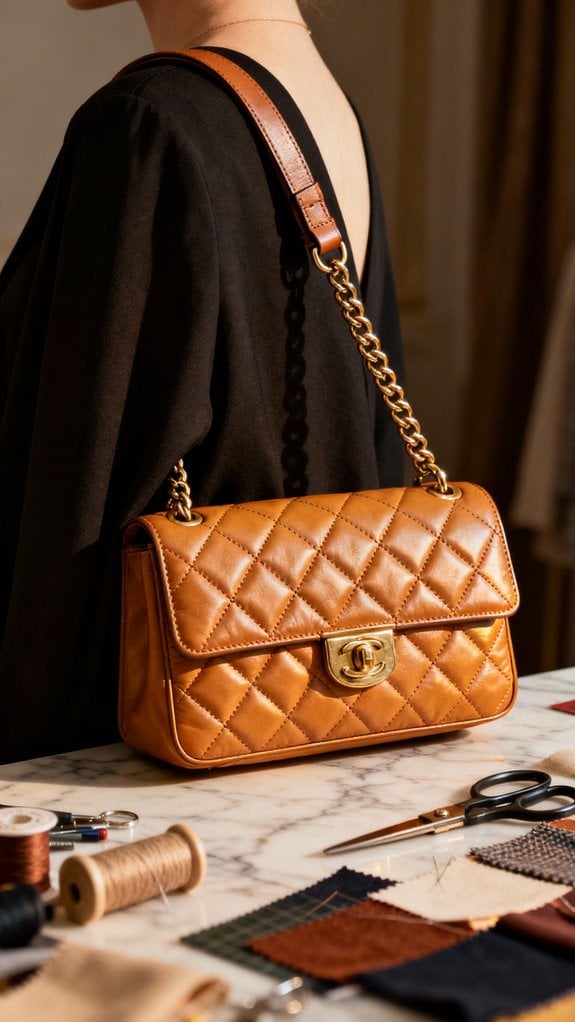
15 Best Cross Body Bag Sewing Ideas You Need To Try!
I’ve spent years perfecting cross body bag patterns, and I’m sharing my 15 favorites with you today. Whether you’re just starting out or you’ve been sewing for decades, there’s something here that’ll challenge and inspire you. I’ll walk you through compact accordion designs, multi-pocket organizers, and even convertible styles that work for any occasion. Let’s explore which project matches your skill level and personal style.
Key Takeaways
- Accordion gusset cross body bags offer expandable storage in a 6-9 inch slim profile, ideal for intermediate sewists.
- Multi-pocket card slot bags replace wallets with credit card slots, measuring 8½″ W × 5⅜″ H with adjustable straps.
- Double compartment organizer bags use “sewing origami” technique for easy assembly with separated secure and accessible storage areas.
- Simple zipper cross body bags suit beginners using canvas or denim, with standard 28cm × 23cm dimensions.
- Customize bags with contrast fabrics, box gussets, metal hardware, and hidden pockets for professional, durable finishes.
Compact Accordion Gusset Cross Body Bag

The accordion gusset cross body bag solves a problem I’ve encountered countless times: needing a compact bag that can actually expand when I’m carrying more than usual. This clever design uses multiple folds to create separated compartments that keep my phone, keys, and cards organized while maintaining a slim profile. Additionally, incorporating decorative finishes can elevate the look of your bag, making it uniquely yours.
I recommend this pattern if you’re comfortable with precise cutting and gusset assembly—it’s definitely an intermediate project. The key is marking your midpoints carefully and using clips instead of pins on those tight curves. Practice on scrap fabric first to nail those tricky corners.
You’ll typically work with a 6-9 inch width and 1.5-3 inch gusset depth, giving you expandable storage without bulk. The adjustable strap makes it perfect for hands-free daily wear. Many patterns include 35 color photos to guide you through each step, which is invaluable when working through complex construction details.
Double Compartment Organizer Bag
When I’m juggling my phone, wallet, keys, and a dozen other daily essentials, a double compartment organizer bag keeps everything exactly where I need it. I love how the two main sections naturally separate my belongings—one side for frequently grabbed items, the other for things I need secure.
I typically add exterior pockets on both front and back for instant access to tickets or sanitizer. The construction uses quilting weight cotton with fusible fleece interfacing, giving structure without bulk. I aim for dimensions around 10″ × 10″ × 3″ for ideal capacity. The interior includes both a zippered pocket and a slip pocket for additional organization. Using recommended materials like canvas or leather alternatives can also enhance durability and style.
The “sewing origami” folding technique simplifies assembly beautifully. I customize with contrast vinyl or cork panels on the bottom, then attach adjustable straps for crossbody wear. Free patterns make this beginner-friendly while offering endless personalization options.
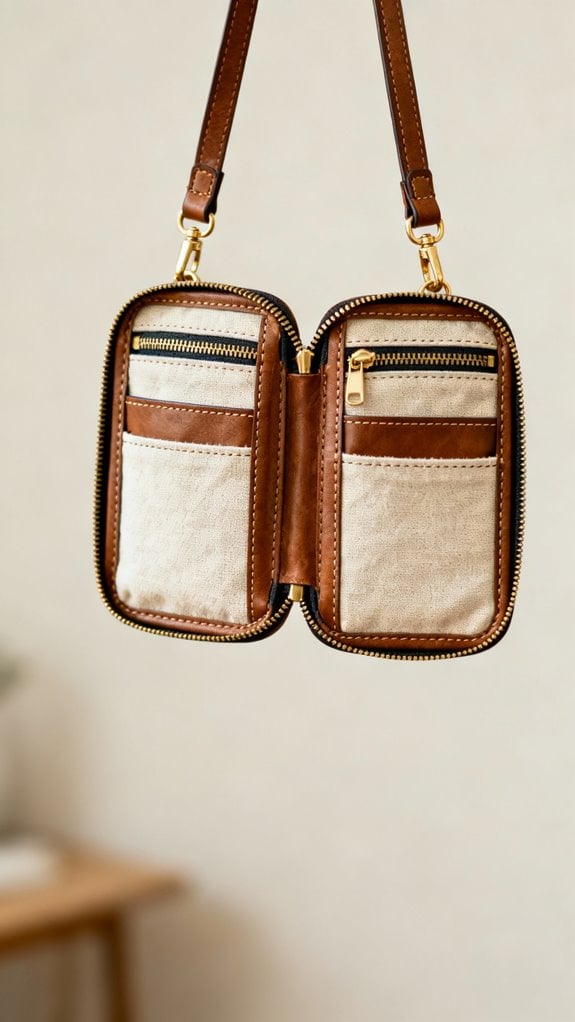
Multi-Pocket Card Slot Cross Body
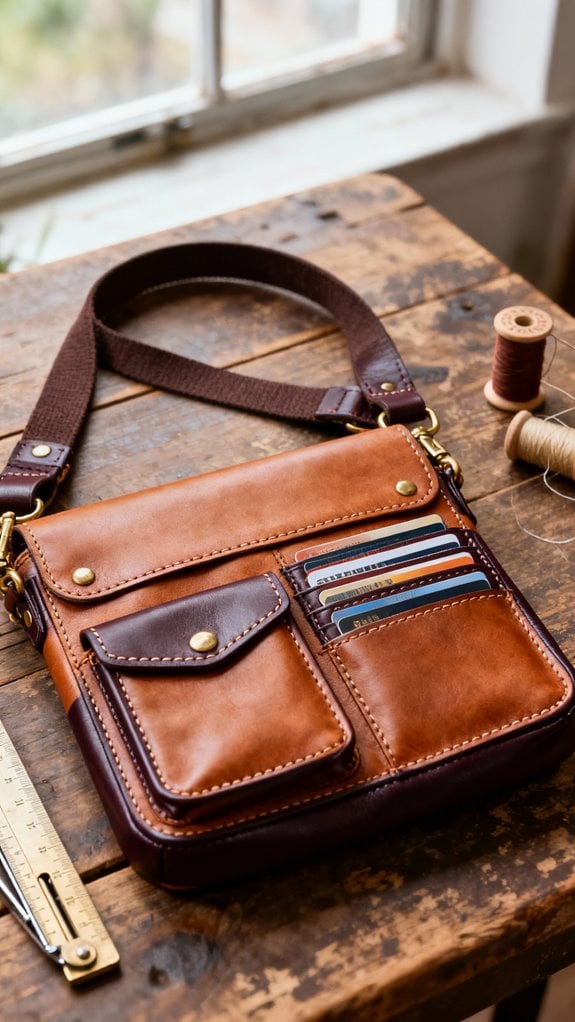
Building on that organized foundation, I’ve discovered that adding dedicated card slots transforms a cross body bag into a wallet replacement that actually works. I stitch card slots directly onto the interior lining, sizing them for standard credit cards at roughly 3.4″ x 2.2″. The key is reinforcing that lining fabric so slots won’t stretch over time. Additionally, customization ideas such as unique pocket designs can enhance both functionality and style.
I always construct multiple exterior pockets with secure zippered closures—no more digging for keys or cards. Small front pockets handle essentials while side slots accommodate pens perfectly. For the strap, I make it adjustable between 40″-55″ using D-rings, which means one-handed length changes on the go. The compact design measuring approximately 8½″ W × 5⅜″ H provides enough space for daily essentials without bulk.
My material choices matter: sturdy canvas or faux leather exteriors withstand daily wear, while fusible interfacing adds essential structure to those card slots.
Convertible Tote With Adjustable Straps

Since I’m always switching between errands, appointments, and weekend trips, I’ve learned that a convertible tote with adjustable straps eliminates the “wrong bag” problem entirely.
I construct my straps from durable webbing or nylon, measuring 40–55 inches long with tri-glide slides for easy length adjustment. Swivel hooks and D-rings let me quickly transform the bag from tote to backpack or crossbody—perfect when my hands need freeing suddenly. This design also aligns with the creative hobo bag sewing ideas that emphasize versatility and functionality.
I choose medium-weight cotton or canvas for the body, reinforcing stress points with interfacing where straps attach. When sewing, I fold strap edges to center, press, then topstitch both sides for strength. A walking foot handles multiple layers smoothly.
The flat profile maximizes capacity while strategic strap placement keeps contents accessible in every configuration—truly one bag for everything. I always seal the webbing ends with a lighter when using nylon materials to prevent fraying and ensure longevity.
Simple Zipper Cross Body for Beginners
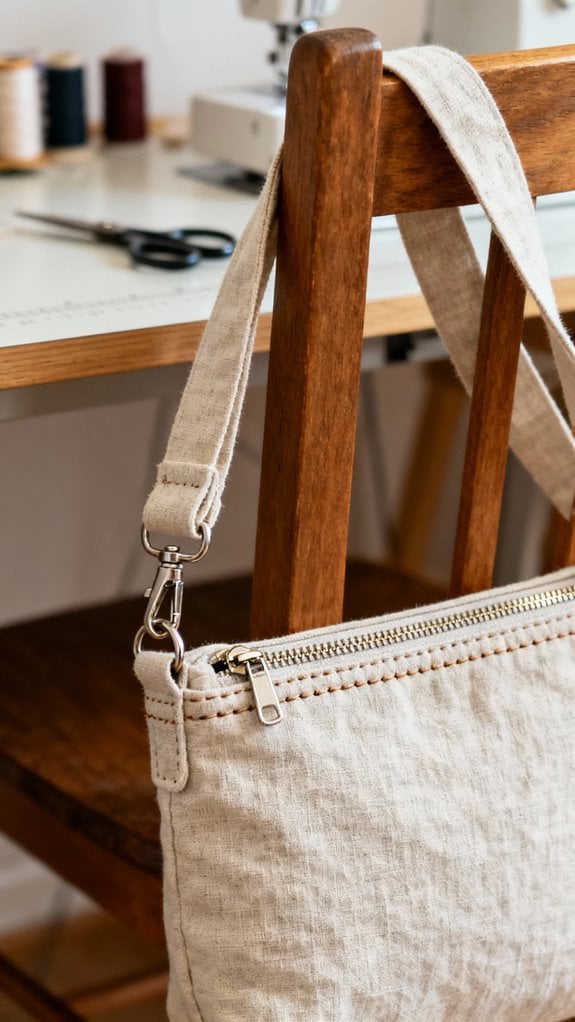
A beginner-friendly zipper crossbody bag delivers exactly what new sewists need: a manageable project that looks impressive without overwhelming complexity. I recommend starting with mid-weight fabrics like canvas or denim—they’re forgiving and easy to handle. You’ll work with a 25–30 cm zipper as your main closure, which secures essentials like your phone, wallet, and keys. Incorporating padded straps can enhance comfort, especially for extended wear.
The construction flows logically: attach interfacing for structure, install the zipper between exterior and lining layers, then box the bottom corners to create that professional three-dimensional shape. Practice your zipper installation on scrap fabric first—it’ll boost your confidence considerably. Consider adding fusible fleece interfacing to give your bag a structured, polished finish that stands up to everyday use.
Standard dimensions of 28 cm length by 23 cm height work perfectly for daily use. Add a 125 cm adjustable strap, and you’ve created a functional, stylish accessory that proves your growing sewing skills.
Mini Belt Bag With Detachable Strap
When you’re ready to tackle something compact yet surprisingly versatile, the mini belt bag with detachable strap hits that sweet spot between trendy and practical. I love using swivel hooks attached to d-rings sewn directly into the bag body—they make switching from belt to crossbody effortless. Thread your strap webbing through a slider buckle and back through the swivel hook for adjustability, then secure the raw end with top-stitching about 1.25 inches from the fold. For the d-ring attachment, I pass a 2-inch webbing strip through the ring, fold it in half, and reinforce with square-and-cross stitching or rivets. This construction keeps your hardware secure while maintaining that clean, detachable functionality you’ll use constantly. Consider upcycled jeans for fabric to give your mini belt bag a sustainable twist with built-in durability. Additionally, using essential hardware such as zippers and straps can enhance the bag’s overall functionality and style.
Boxy Structured Cross Body With Contrast Fabric

Stepping up from a compact belt bag, you’ll find the boxy structured crossbody opens up a whole new dimension—literally. I love how rectangular pattern pieces and foam stabilizers create that crisp, architectural silhouette that stands proudly on its own.
What makes this design shine is the contrast fabric approach. I’ll use heavyweight canvas for the main body, then accent with patterned cotton on pockets or side gussets. It’s visually striking and helps you organize compartments—exterior zipper pockets, interior mesh dividers, and slip sections all work together.
Construction requires precision when attaching those box-style gussets, but the payoff is incredible structure. Additionally, incorporating hardware choices like adjustable straps with swivel hooks and reinforcing attachment points with rivets ensures you’ve got a workhorse bag that handles daily essentials beautifully.
Banana-Shaped Streamlined Sling Bag

If you’re craving something sleek and sporty, the banana-shaped sling bag delivers that perfect crossbody curve. I love how this streamlined design contours naturally to your body while holding essentials like your phone, wallet, and water bottle.
The pattern typically prints on just three A4 sheets and requires minimal fabric—often half a yard or less. You’ll construct it using a curved top panel, bottom piece, and side panels that create that signature banana silhouette. Install the 12″-20″ zipper along the curved opening first, then assemble the body before adding your lining.
Customize yours with bold prints, color blocking, or faux leather for different vibes. Add foam interfacing for structure, and reinforce those strap attachment points with extra stitching. The adjustable strap lets you wear it however feels most comfortable. Additionally, consider incorporating reinforcement points to enhance the durability of your bag.
Hidden Pocket Security Cross Body

Though most crossbody bags excel at convenience, the hidden pocket security version takes protection seriously without sacrificing everyday wearability. I’ve integrated slash-resistant mesh panels into strategic areas—bottom, sides, and strap attachment points—to deter blade attacks. Lockable zippers with metal clasps discourage pickpockets seeking quick access, while concealed internal compartments shield passports and wallets from probing hands.
I always include RFID-blocking fabric in dedicated pockets to prevent electronic skimming of credit cards. The crossbody strap keeps everything front and center for constant monitoring, with all zipper pulls facing inward toward your body. Multiple subdivided compartments let you distribute valuables discreetly rather than exposing everything at once. Reinforced straps sewn with extra stitching and bar-tacks ensure the bag can’t be easily yanked away or severed during an attempted theft. This design transforms your handmade bag into a travel-ready fortress that looks deceptively casual.
Quick-Finish Beginner Zipper Tote

While travel security bags protect your valuables on the go, sometimes you just need a straightforward tote that comes together fast and works beautifully for everyday errands. I’m excited to share this beginner-friendly zipper tote that measures approximately 14” x 19” x 4”—perfect for daily use.
You’ll need 1 yard of main fabric, 1/2 yard for straps, and a 48”–50” YKK size 4.5 zipper. The construction process is wonderfully simple: finish your topstitching, attach the zipper tape along the top edge, construct straps, and assemble the body. I love boxing the corners 4” from each edge for that professional gusset depth.
The recessed zipper creates a neat finish while hiding bulky zipper ends. You can customize strap length for crossbody or shoulder carry, making this incredibly versatile. Don’t forget to include 1/2 yard of fusible interfacing for your straps to give them structure and durability.
Quilted Fashion-Forward Cross Body
Because quilted cross body bags blend texture with trend-forward style, they’ve become my go-to recommendation for sewists ready to level up their skills. I love working with quilted cotton and polyester batting to create structured, fashion-forward pieces that stand out.
You’ll find patterns offering three size options—from compact 5″x2.5″x7.5″ essentials bags to roomier 5″x2.5″x10.5″ everyday carriers. I always incorporate zippered compartments and interior pockets for functionality, while features like piping along seams and quilted straps add professional polish.
The adjustable strap system using triglide sliders lets you customize the fit perfectly. For the strap construction, you’ll need to piece together 4″ tall strips of medium weight fusible interfacing for added strength and durability. Add embellishments like statement bows or custom quilting motifs to make each bag uniquely yours. Utility nylon lining and bias tape edges guarantee your creation lasts through daily wear.
Modular Strap Cross Body With D-Rings

I’ve discovered that modular strap systems transform how you’ll use your handmade bags—they’re the supreme upgrade for versatility. By attaching D-rings at side seams or zipper ends, you’ll create interchangeable carrying options that shift from clutch to crossbody instantly.
I recommend using 1–1.5 inch D-rings with matching swivel hooks and adjustable sliders for ideal comfort. Reinforce your attachment points with interfacing like Decovil Light—this prevents tearing under weight. Stitch tabs 1/8″–1/4″ from edges using box or X-stitches for peak strength.
The beauty here is adaptability: construct straps in coordinating or contrasting materials, swap between bags, and adjust lengths from 45–60 inches. Quality metal hardware outperforms plated alternatives greatly. You’ll appreciate how this modular approach elevates simple pouches into functional everyday bags. Start with a fabric strip four times wider than your desired finished strap width to ensure proper thickness and durability after folding.
Wide-Strap Multi-Pocket Convertible Bag

When you’re juggling keys, a phone, and shopping bags all at once, you’ll appreciate why wide-strap multi-pocket convertible bags have become my go-to sewing project.
I recommend starting with medium-weight canvas or faux leather paired with quality interfacing for stability. The 1.5″ to 2.5″ wide straps distribute weight evenly across your shoulder, making heavier loads comfortable during travel or errands. I always add swivel clips and D-rings so you can quickly switch between crossbody, sling, and backpack modes.
For organization, I include exterior zip pockets for phone access, interior slip pockets to prevent clutter, and expandable gusseted sections that maximize space without adding bulk. Aim for dimensions around 10″ wide by 12″ high with 3″ depth—perfect for tablets and water bottles while maintaining a streamlined profile. The versatile design makes it suitable for various occasions, from casual outings to more formal settings.
Scrap Fabric Cross Body With Metal Hardware
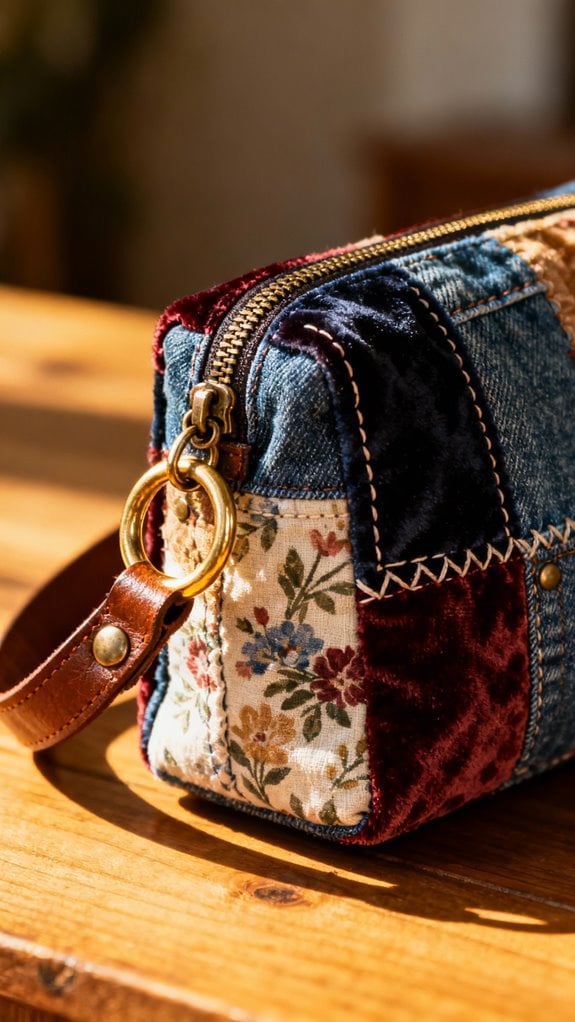
My fabric scrap bin has transformed from a guilty reminder of waste into a goldmine for creating stylish crossbody bags that cost less than $10. I’ll use patchwork methods to combine small pieces (7.5 x 15 inches minimum) with fusible fleece remnants for structure. Upholstery or quilting cotton scraps work perfectly for durability.
Metal hardware elevates these bags from homemade to professional. I’ll attach rectangular sliders, D-rings, and swivel hooks using reinforced scrap pieces. A rotary punch simplifies installation, and I’ll add permanent glue in screw holes for extra stability. For secure metal attachments, I prefer Dritz 8mm Double Cap Rivets with their included setting tools.
For straps, I’ll stitch contrast fabric strips into adjustable lengths using buckles and sliders. Box stitching secures high-stress attachment points. The result? An eco-friendly, unique accessory that maximizes every fabric scrap.
Professional Boxed Corner Cross Body Bag
Boxed corners transform a flat cross body bag into a three-dimensional masterpiece that stands upright and holds its shape beautifully. I’ll show you two methods: the cut-out corner technique, where you mark and remove squares from each bottom corner before sewing, and the folded method, which sandwiches the bottom into side seams for a softer finish.
For everyday cross body bags, I recommend 1.5–3″ corner depths. Remember, a 4″ base requires cutting 2″ squares from each corner. Use medium-weight interfacing like Shape Flex 101 to prevent distortion, and always add a second line of stitching for durability.
The key to professional results? Align your seams precisely using a grid mat and quality marking tools. For thick or slippery materials, utilize Wonder Clips instead of pins to hold layers securely in place. This structured construction lets you confidently add zipper pockets and adjustable straps.
Conclusion
I can’t wait for you to plunge into these cross body bag projects! Whether you’re just starting out with that simple zipper design or ready to tackle professional boxed corners, there’s something here that’ll match your skill level perfectly. Don’t be afraid to mix techniques, play with different fabrics, and make each bag uniquely yours. Grab your supplies and let’s get sewing—your next favorite accessory is waiting to be created!
